Showing posts with label Sydney. Show all posts

Saturday, December 27, 2014

Best {seal} Show Ever

Happy Saturday!! 
How was your Christmas? I spent a quiet one at home, reading, catching up with all my TV series, crafting, and planning for 2015. 

2014 is coming to an end, have you set your goals and make plans for the coming year? I think I might have pushed myself a bit too hard and wrote down a dozen things to do every weekend. It will definitely be very tough, but great things never came from comfort zone, right? (And, I allow myself to review my plans every month, so I might take half of the stuff out if I really couldn't keep up hahaha)

This week's layout is quite challenging, trying to fit 3 4x6 photos onto a 12x12. I remembered the pocket pages method I learned from an online class, and I did try that out once. But, I usually try not to duplicate my layouts, unless they are of the same theme. 

So, this has got me thinking, and while browsing through my old layouts for inspiration, I found this layout. There are 3 photos on it, but they are not all 4x6 because I trimmed them down. I like the idea of having them lined up on one side, and that was how everything started to fall into place for this layout.


I decided to go with minimal embellishing with this layout, but wanting the title to stand out. Frames are the best way to make the title pops. 


The wooden ticket is too cute, had to put that there. Then I added another label to write down the place of the show.


Lastly, my all time favorite, decorating one of the top corners of the layout. I wanted to add the '#seal' on the layout, but it seemed to be floating alone at the top corner. Then I pulled out a transparency frame as my base, added a vellum sticker, a paper banner, some woodgrain star sequins, and secured the cluster on the layout using brads. The transparency alphabet diecuts are so cute!


Aaaand, another layout done! Though I did spend a lot of time on this one because I was quite distracted while making the layout. Hopefully I will maintain this efficiency and make a layout or card and write a blog post every week. That is my plan for 2015, see how long I am able to keep up with it hahaha

Supplies (Patterned Papers)
  • Picture This by Studio Calico
  • Perfect Picture from Polka Dot Party Collection by Dear Lizzy, American Crafts
  • 3x4 Project Life Cards
Supplies (Letters)
  • Cut Out Thickers by Amy Tangerine
  • Transparency Alphabet DieCuts from June OhDeerMe Kit
Supplies (Embellies)
  • DieCut Frames by Dear Lizzy, American Crafts
  • Wood Ticket, Label Stickers from June OhDeerMe Kit
  • Close Knit Photo Overlays Abbreviated Pack by Crate Paper
  • Mint Jellies by Queen & Co.
  • Woodgrain Star Sequins by Studio Calico
  • Brads

That is all for today. Any comments are appreciated!

If you would like to see more of my layouts and paper craft creation, hit the follow button on my blog and check out my Instagram

This is the last weekend of 2014, I'll see you again in 2015. Have a wonderful weekend!

Sunday, August 11, 2013

The Australian Museum

I *think* this will be the last layout for my Sydney trip last year. I only left a few random pointless photos, which I think I'll just leave them at the bottom of my drawer.

My looooong weekend started since Thursday, and I only managed to get ONE layout done, sigh.. Well, at least I met up with some of my uni mates and had plenty of nap. Plenty. There goes my looooong weekend ~.~

Shimelle hosted a Best of Both Worlds Scrapbooking Weekend last week, with a lot of fun challenges for us to try. I thought I'll be using my looooong weekend to complete at least THREE challenges. Oh well, next time I know I shouldn't overestimate myself. Three challenges? Bah.

In this layout I used the flexible template as my basic sketch. It's pretty simple actually, photos at the top and title and journaling at the bottom. No fixed dimension and we can scale the areas for photos/journaling however we want. See how flexible it is?

Initially I wanted the background for this layout to be just colored cardstock, because I have a lot of photos and probably will do heavy embellishing on the page. After referring to the other layouts for this trip, I decided to use a more busy background because the other layouts all have very very busy background, so I pulled out this Echo Park, Just My Type patterned paper. Then I used different tones of orange to neutralized the overall look.


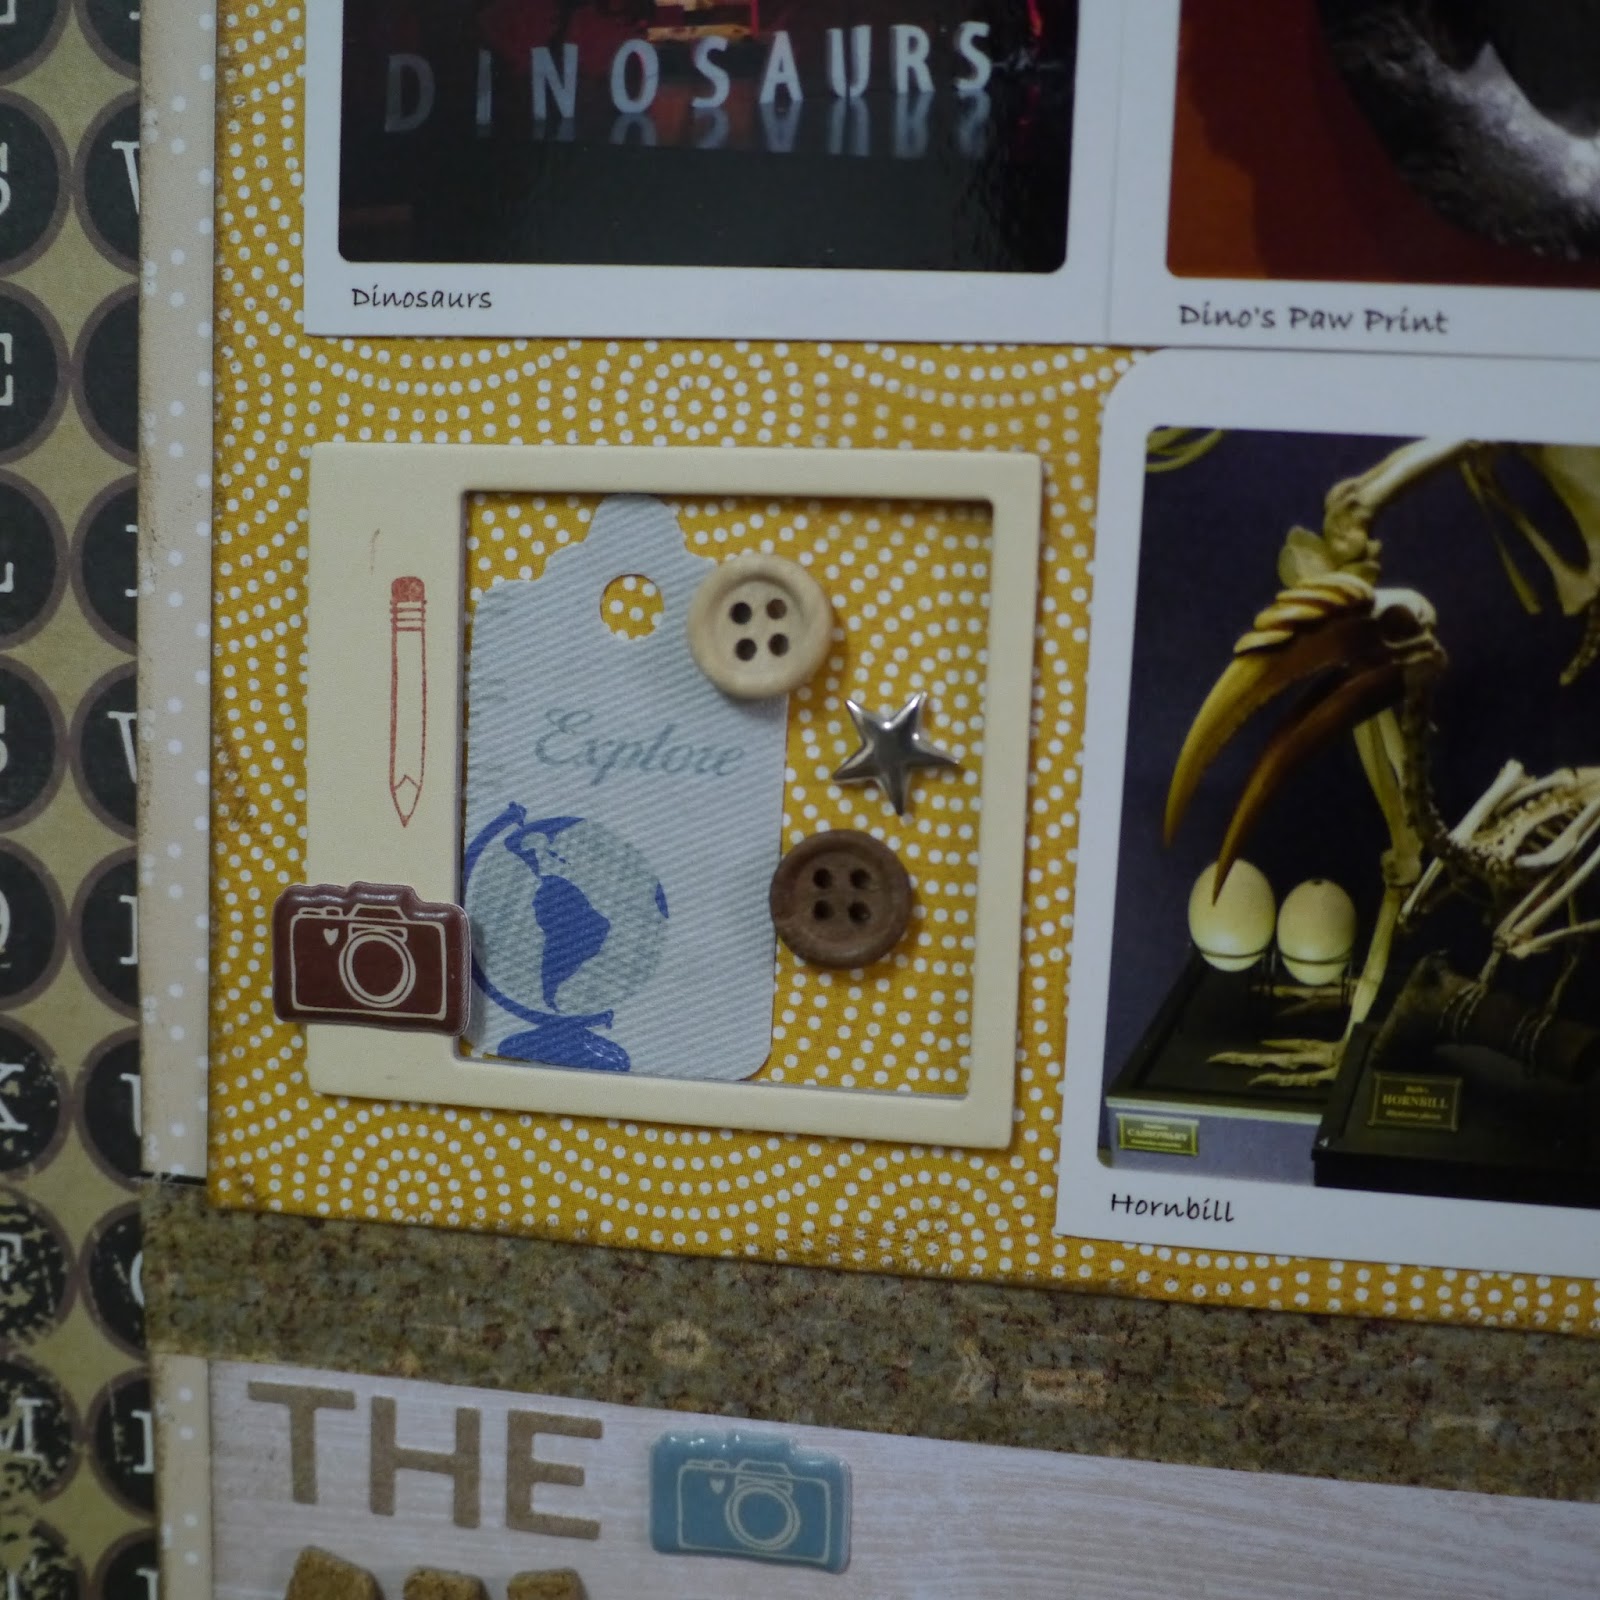
I love the cork thickers!
Journaling spot with a cute owl!
Little embellishing

Supplies (Patterned Papers)
  • For the Record 2, Just My Type by Echo Park
  • Limitless by Studio Calico
  • XSC-050 by Basic Grey for Studio Calico
Supplies (Alphas)
  • Dazzle Cork Thickers by American Crafts
  • Kut Kraft Alphabeans by Jillibean Soup
  • White Alpha Stickers by Basic Grey
Supplies (Embellishments)
  • Cute Overload Tiny Matte Puffy Accents, Oh Yes Fabric Stickers & date stamp by Amy Tangerine
  • Whoots by Art Impressions (Owl rubber stamp, cute!!) 
  • Tabloids Two-Sided Elements by Authentique
  • Star Metal Studs by Basic Grey
  • Geo Tag Resin by Freckled Fawn for Studio Calico
  • Boarding Pass Chip n' Stick by October Afternoon
  • Cork printed Washi by Studio Calico
  • 3x4 and 4x6 Project Life Card

Sunday, June 30, 2013

Destination Sydney

I decided to use some of the supplies from my Studio Calico June Scrapbook Kit, Roundabout. It was my first scrapbook kit and honestly I'm a bit unsure of what to do with them. But I know if I don't start using them soon, they'll end up sitting on the shelf until being forgotten. The theme for that kit is travel-related so I think it'll go well with my Sydney adventure. 

I have chosen 9 square-sized photos for this layout, and it took me a very long time to decide on the photo placement. I previously did a 12 photos layout and I don't want both layout to have similar sketch, although they are the same theme.

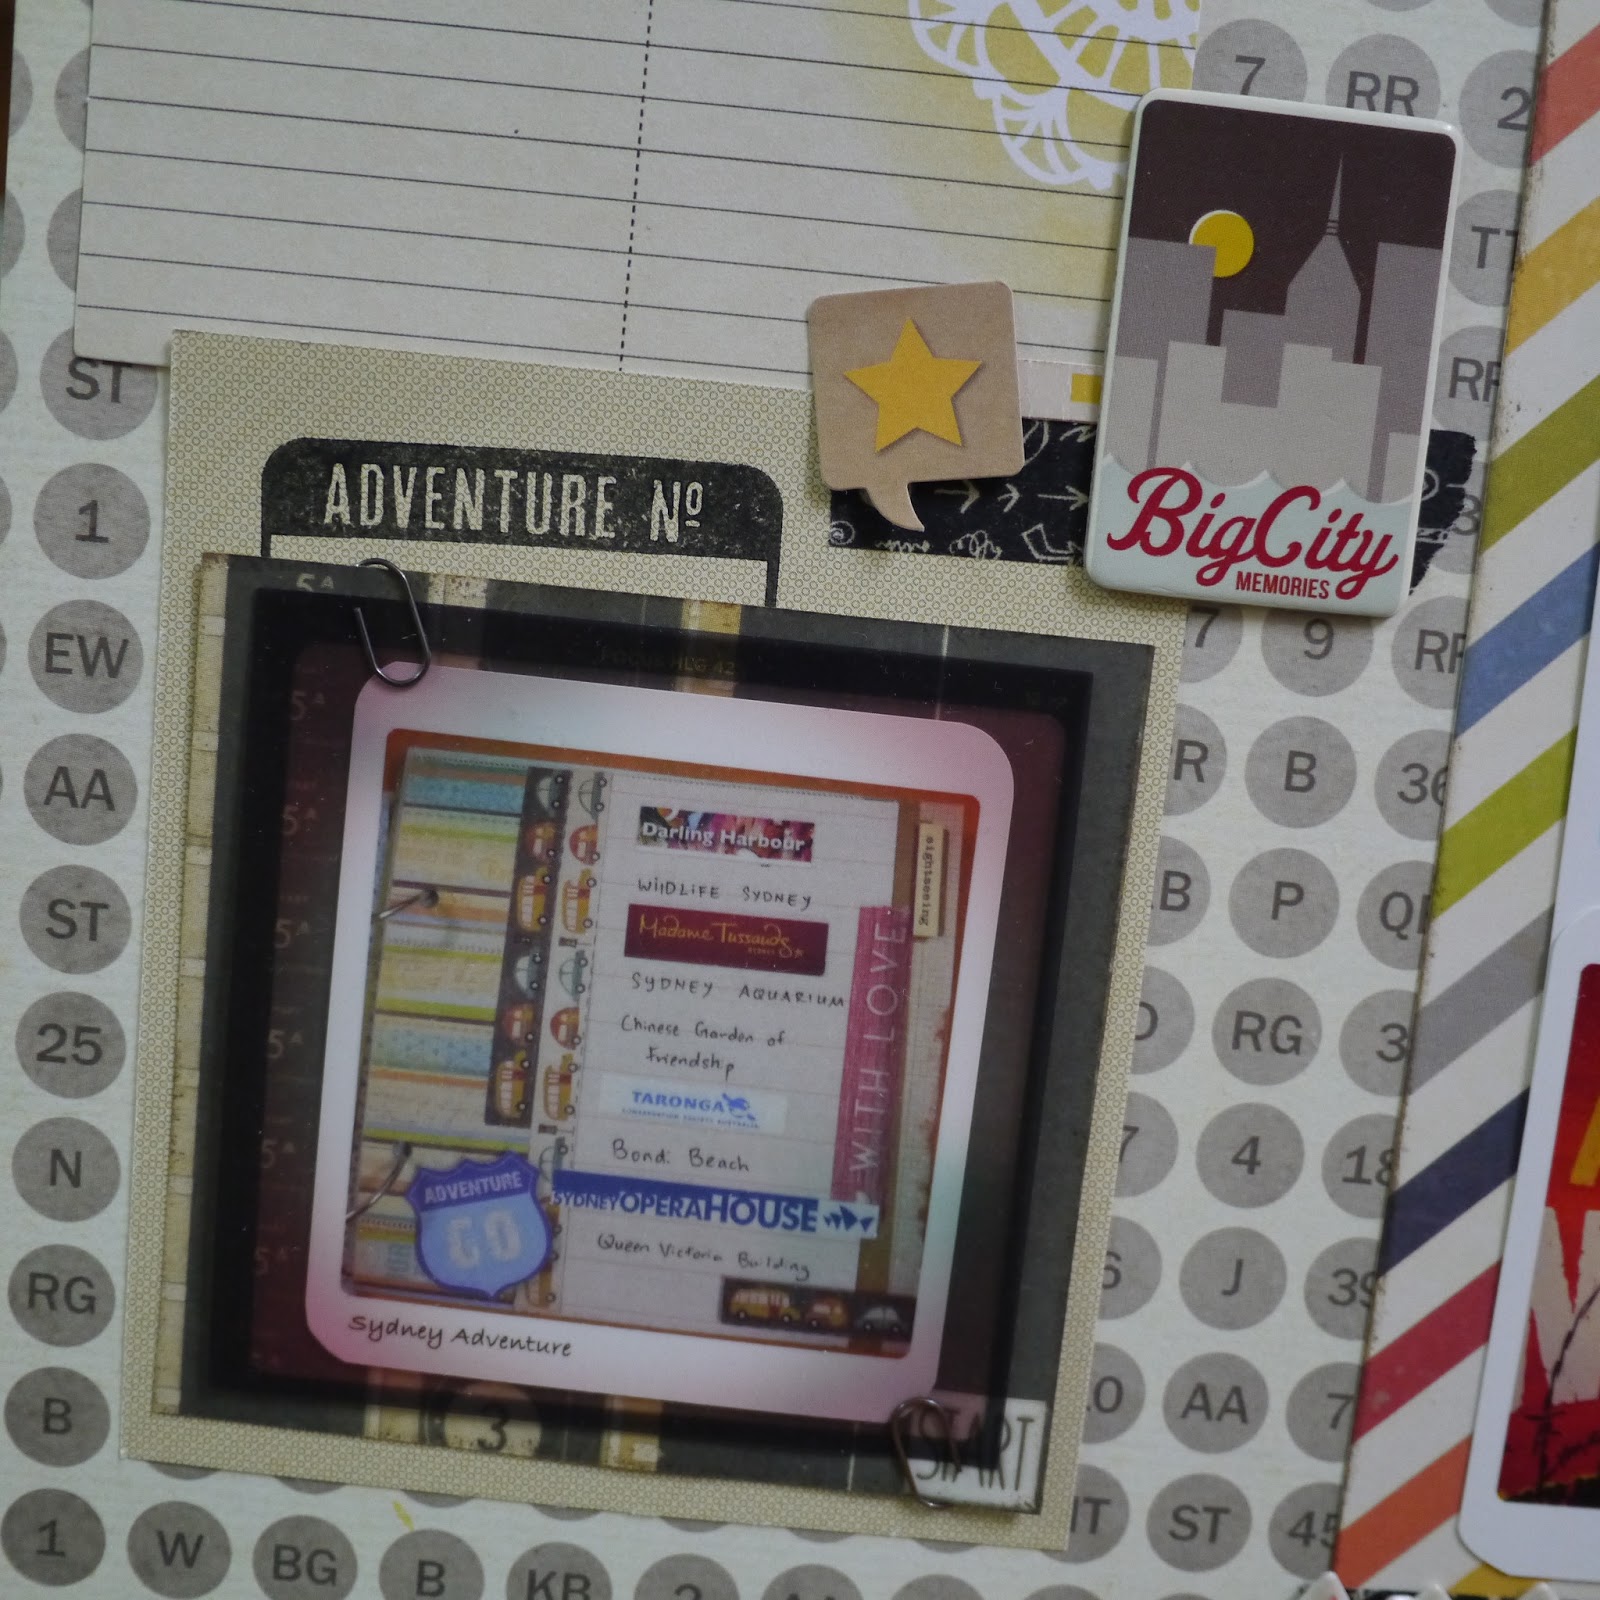
One of the photos is a page from the mini album I did for the Sydney trip which has almost all of the places that I have visited listed down, and others are really some random snap shots from some of those places. I wanted to combine all of them into one layout, sort of like a summary for my trip.

I lined up my random snap shots on two vertical strips, and used a colorful diagonal strips patterned paper on the back of the photos. 

 
One thing from the SC Scrapbook Kit that I really wanted to use was the 3x3 Photo Overlay. It creates a vintage-y effect on the photo and looks really cool. 


I backed my photos with two layers of patterned paper, and the 'Adventure No.' Stamp is from the SC Scrapbook Kit as well. I have no idea how to adhere the overlay without showing any glue or tapes because of it's transparency, I looked into my stash and found 2 tiny paper clips that goes well with the overall look. I tucked a journaling card under the lot and decorated the top right with washi tape and some embellishments.

Next is the title for the layout.


I rooted the rubber stamp chipboard sticker and the alphas on a strip of washi tape. The initial idea was the 'I This City' Sticker will be on top and behind of the washi strip, but I messed up the inking and they looked like they've been dropped on the floor and stamped all over, so I remove the washi and the title on top, placed the sticker at the back, only showing the phrase 'I This City'. It was further covered up using the camera stickers. Hopefully people will look pass this.

Lastly, some little embellishing.


Journaling and the name of the places were added after that.

Supplies
  • Basic Grey, Carte Postale, Canal Street
  • Simple Stories, Urban Traveler, Pack Your Bags
  • 2x2 'Adventure No.' Stamp Set
  • Crate Paper 3x3 Photo Overlay
  • Basic Grey Silver Stars
  • Simple Stories, Urban Traveler Chipboard Sticker
Others
  • Echo Park Oh Snap Collection Kit 
  • Amy Tangerine Cute Overload Tiny Matte Puffy Accents
  • Amy Tangerine Noteworthy Accent & Phrase Sticker Book
  • Simple Stories Sn@p! Icons Stickers
  • October Afternoon Sticky Keys, Honey  
  • Freckled Fawn, Chalkboard Arrow Washi Tape
  • Mini Paper Clips 
 
Confession: I probably spent more than 3 hours on this layout, from choosing supplies to putting down photos to embellishing. The most frustrating part is the embellishing. I honestly couldn't find anything that goes well with the theme and color and overall look. I was getting frustrated, ended up using a bunch of AT tiny puffy stickers and call it a day. *guilty*

Sunday, June 23, 2013

Koala This Way

Yes, I'm STILL in the process of scrapping my Sydney trip from last August. There are a few photos left to scrap before wrapping up my Sydney 2012 trip, hopefully I can get it done BEFORE my second Sydney trip this coming October.

This layout is inspired by Shimelle's Scrapbook Starting Points. I like the simplicity of this layout and it's a really good kick start for me because usually I just stare at all the pretty papers and embellishments for an hour before really starting to cut and paste anything. So, here we go!

I used Tim Holtz Picket Fence Distress Stain to tone down the dark blue, looks better, right? :)
  • 12 x 12 Patterned Paper from We R Memory Keepers, Anthologie, Nuance
  • 8 x 8 Patterned Paper from Glitz, Love You Madly Collection
  • Blue strip of scrap paper topped with Freckled Fawn Orange Polka Dot with Heart Washi Tape

Added another layer of 6 x 6 on top and a die cut piece at the intersection, voila!
  • 6 x 6 Patterned Paper from a 12 x 12 sheet of WE R Memory Keepers, Down the Boardwalk, Gone Surfin'
  • Die Cut Tag from October Afternoon, Boarding Pass Miscellany

A title that does not make any sense. Koala this way, really?
Decorated the top left corner of the photos as well. Stop & enjoy TODAY!
Done! ♥

Took me less than 3 hours to get it done. It's a fairly simple layout but usually I took a lot of time doing the finishing embellishing. My embellishments are scattered everywhere and I have difficulty finding things that match each other. Or maybe I'm just not that skillful yet. Anyway, I love the final look for this layout, it was a fun process. :)

Supplies (Embellishments)
  • Amy Tangerine Bits Die Cut Cardstock Shapes
  • Amy Tangerine Chipboard Alphabet Stickers
  • Amy Tangerine Pigment Fabric Stickers
  • Colorbok Layered Chipboard Sticker
  • Echo Park Enjoy the Ride Mini Theme Sticker Sheet
  • Fancy Pants Trendsetter Fundamental Stickers
  • Heidi Swapp Mustard Color Shine
  • Pebbles Chips Varnish Chipboard
  • Studio Calico Geotag Chipboard Shapes

(Almost the end of June and I only managed to get 2 LO done and 1 blog post *oh em gee*)

Sunday, May 12, 2013

Oh, Snap!

Hello everyone! Happy Sunday.

I've created another project for 2Peas NSD Challenges. (I swear this is the last challenge I'm going to do for this NSD) This one is for the first challenge, Focus on Photos. The theme is to use any photo-inspired products, which I have a few in my stash that needs to be used for they have been there for almost a year. I had my Sydney trip photos printed out in Instax format, and I had to layer them on top of one another like a photo strip because there are a total of 12 photos on the layout. 12, that's a record! Other than that, there's the photo-strip chipboard sticker from October Afternoon Boarding Pass Chip n' Stick that I've been planning to use for a while but couldn't find any idea on how to use it.

How do you like it?
The patterned paper base is from Echo Park Oh Snap Collection Kit. After layering down all the photos, I used Freckled Fawn Chalkboard Arrow washi tape to divide the layout to 2 sections. The top is for the photos, and the bottom will be the title and journaling. Then I added the photo-strip chipboard sticker from October Afternoon Boarding Pass Chip n' Stick

After that, I pulled out a lot of embellishments to decorate inside the photo-strip and on top and around my photos. 


Supplies (Embellishments):
  • Simple Stories Sn@p! Stickers, Icons and Letters
  • Amy Tangerine Sure Thing Dimensional Stickers; Cute Overload Tiny Matte Puffy Accents; Pigment Fabric Stickers; Bits Die Cut Cardstock Shapes
  • Basic Grey What's Up Die Cut Cardstock & Transparencies
  • Fancy Pants Swagger Sticker Fundamentals

Actually I didn't finish the layout on the same day. After decorating the top part, I stopped. Then on this afternoon, I spent some time on the bottom part, which is the title. Now, the photos already took a very large part on the layout and the title is quite large too, so I decided to skip journaling to make it less crammed. 


I used Amy Tangerine Lovely Thickers and a chipboard alphabet stickers (couldn't trace the source, the name on the packaging is incorrect) as well as October Afternoon Key Caps Sticky Keys to spell out the title. Added 2 tags on the right side of the title and on the left, a camera accent cut out from one of the PP from Echo Park Oh Snap Collection Kit and the 'location pin thingy' from Studio Calico Chipboard Shapes Stickers. Oh, and I used a black marker pen to color the Amy Tangerine Lovely Thickers because the cream color blends in with the background too easily. The cut out photo strip behind the title was added afterwards too, because even after making the thickers black, it's still difficult to read it.

I thought the photo-strip with various embellishments in it will be my favorite part on this project, but it turns out I like the title section more.

So that's all for my last layout for NSD Challenges. Now I'm gonna enjoy the remainder of my Sunday and try not to think bout Monday blue..

Good night!

Wednesday, May 1, 2013

My First 12x12 Layout!

Happy 1st of May!

I just came back from a short trip with my family few days ago and still feeling exhausted. Spent the whole afternoon sleeping, with no regrets! Thought I should do something 'meaningful' before the day ends, and so here I am!

I completed my first 12x12 LO in early April. It took me a few days to visualize my project and I was afraid to take the first step, you know, wanted to be 100% sure about it. After 3 days of moving all the photos, patterned papers and embellishments around and around and around, I told myself 'the heck with perfection, I'm gonna glue down stuffs RIGHT NOW!' And so, I finished the layout in 2 hours.

Presenting my very FIRST 12x12 LO

12x12 Patterned Paper from Echo Park Enjoy the Ride Collection, Big City.

Sydney Opera House & Harbour Bridge

The word 'icons' are alphabet stickers from Amy Tangerine Lovely Thickers; the camera Fla!r is from Amy Tangerine as well (AT Metal Disc Mix Flair); the letter 'F' is an alphabet stickers I bought from a local bookstore and lastly, the word 'Sydney' are wooden alphabet I bought from Typo in Sydney.

Me + Harbour Bridge

Harbour Bridge wood flourish by Kaiser Crafts, Sydney Icons. The 'I WAS HERE' speech text is from October Afternoon Boarding Pass Chip n' Stick; Pink camera sticker from Amy Tangerine Cute Overload Tiny Matte Puffy Stickers; Washi Tape from Freckled Fawn, Polka Dot with Heart.

Him + Opera House

Manila tag with green border from October Afternoon Boarding Pass Miscellany (I used the back of the tag instead of the front); Camera icon stickers from Simple Stories Sn@p! Stickers Icons backed with pop dots; 'Been There Done That' stickers from Echo Park Enjoy the Ride Collection Sticker Accents; Letter 'M' and 'Y' from Fancy Pants Trendsetter Sticker Fundamentals. Washi tapes from Freckled Fawn Chalkboard Arrow and Red with Love.

Bucket List #3: Go to Sydney, take picture of Sydney Opera House - Nailed it!

There are still a few dozens of photos from Sydney that I haven't have the time to scrapbook yet, and the ones from my Kyoto-Osaka trip, I haven't even get them printed out, and the Bangkok trip in last February and the Hat Yai trip last week. Oh em gee, I'm so behind the schedule. I think by the time I get all of those done, it'll probably be the end of 2014. *facepalm*