Saturday, January 24, 2015

Saturday Share: Disneyland, Paris

Hello! Welcome to another week of Saturday Share.

This week I will be sharing a layout that I made using Come On Get Crafty's January Sketch Challenge

Come On Get Crafty's January Sketch Challenge

As this is another Disneyland themed layout, I used the same red glitter letter stickers for my title to match the Parade layout that I made few weeks ago. 

Glitter Letter Stickers! I am not a glitter kind of girl, but these are really nice!

Instead of using 2 photos, I used a photo of me (in front of the Disney Castle!) with a postcard I bought from there. I  postcards!

So happy!

Visit Disneyland is on my Bucket List too, gotta write that down on the layout.

Nailed it!

Lastly, for the circle embellishments on the Challenge Sketch, I used a lot of Os, and 0s and dots from my various letter stickers stash to make into Mickey balloons.

The balloons are flying away!

There's another one!

I have been hoarding this patterned paper, the diagonal orange and white stripes are just so cute! (And I used the same patterned paper for a layout 2 years ago)

Love the contrast between the background paper and the photo and postcard

Thank you for stopping by! Have a lovely weekend!

p/s: If you would like to see more of my paper craft creations, do follow my blog and check out my Instagram. ;)

Patterned Papers
  • Section 1 from Cut & Paste Collection by Amy Tangerine
  • Tick Tock by Studio Calico
Letters
  • Jingle Glitter Foam Stickers and Sparkling Glitter Letter Stickers by American Crafts
Embellishments
  • Bits Die Cut Cardstock Shapes by Amy Tangerine
  • Wood Ticket and Flair Badge from OhDeerMe June 2014 Kit by Freckled Fawn
  • Sn@p Icons Stickers, DIY Labels Stickers and DIY Messenges Clear Stickers by Simple Stories

Saturday, January 17, 2015

Saturday Share: Apples

Happy Saturday! 

So, I have been thinking.. Since I will be posting regularly on Saturday to share my layouts and handmade cards, these posts will be named as Saturday Share - Card or Layout series. I know I should come up with a more creative name, but that is the only name that I can think of. >.<

This week's Saturday Share, I will be sharing a few cards I made using the Hero Arts 4 Apples Rubber Stamp set. 

I bought some mini ink pads, and decided to use the 4 Apples to try out the inks. I have had this stamp set for a few years, but I don't remember using them much. This kind of stamp set is quite versatile, as you can pair it up with different sentiments for many different occasions. 

This is me having fun with some rubber stamps and inks

I made 3 cards using the stamped apples images, some sentiments and washi tapes. Going back to simplicity these days.

A Thank You card

Life with You is Sweet

Thank You for Being Sweet


Be sure to follow my Instagram (ID: peifang_alice) for more of my paper craft creation!

Thank you for stopping by. Have a wonderful weekend!

Supplies (Stamp)
  • 4 Apples Rubber Stamp Set by Hero Arts
  • Incredible by Ali Edwards for Technique Tuesday
  • Fanciful Swirl Alphabets by Hero Arts
Supplies (Ink Pad)
  • Cup O' Joe Mid Tone Shadow Ink by Hero Arts
  • Mini Ink Pads by Do Crafts
Supplies (Others)
  • 300 gsm A6 Card Blank
  • Corktape Washi by Studio Calico
  • Red Polka Dot Washi by Freckled Fawn

Wednesday, January 14, 2015

Planner Nerd Wednesday: Planner Inserts

WARNING: THIS IS ONE LONG, LONG POST! SO, GO GRAB A CUP OF COFFEE (OR IN MY CASE, GREEN TEA), SIT BACK AND ENJOY.

Hello, dear friends! Today I will be sharing some photos of my planner inserts. 

I caught this planner-fever via Instagram, where a lot of people share their planner addiction, mostly beautifully decorated or drawn, and I thought, 'I want one too!' So, that was how this all started.

I don't own any fancy planner, all I have got are an A5 sized planner (made in China, totally affordable), and a personal sized which my sister gave to me. I absolutely love the knock off version A5 planner, and when I first bought it, I took it out everyday and stared at it ('cause still quite clueless what I should be doing with a planner back then hahaha)

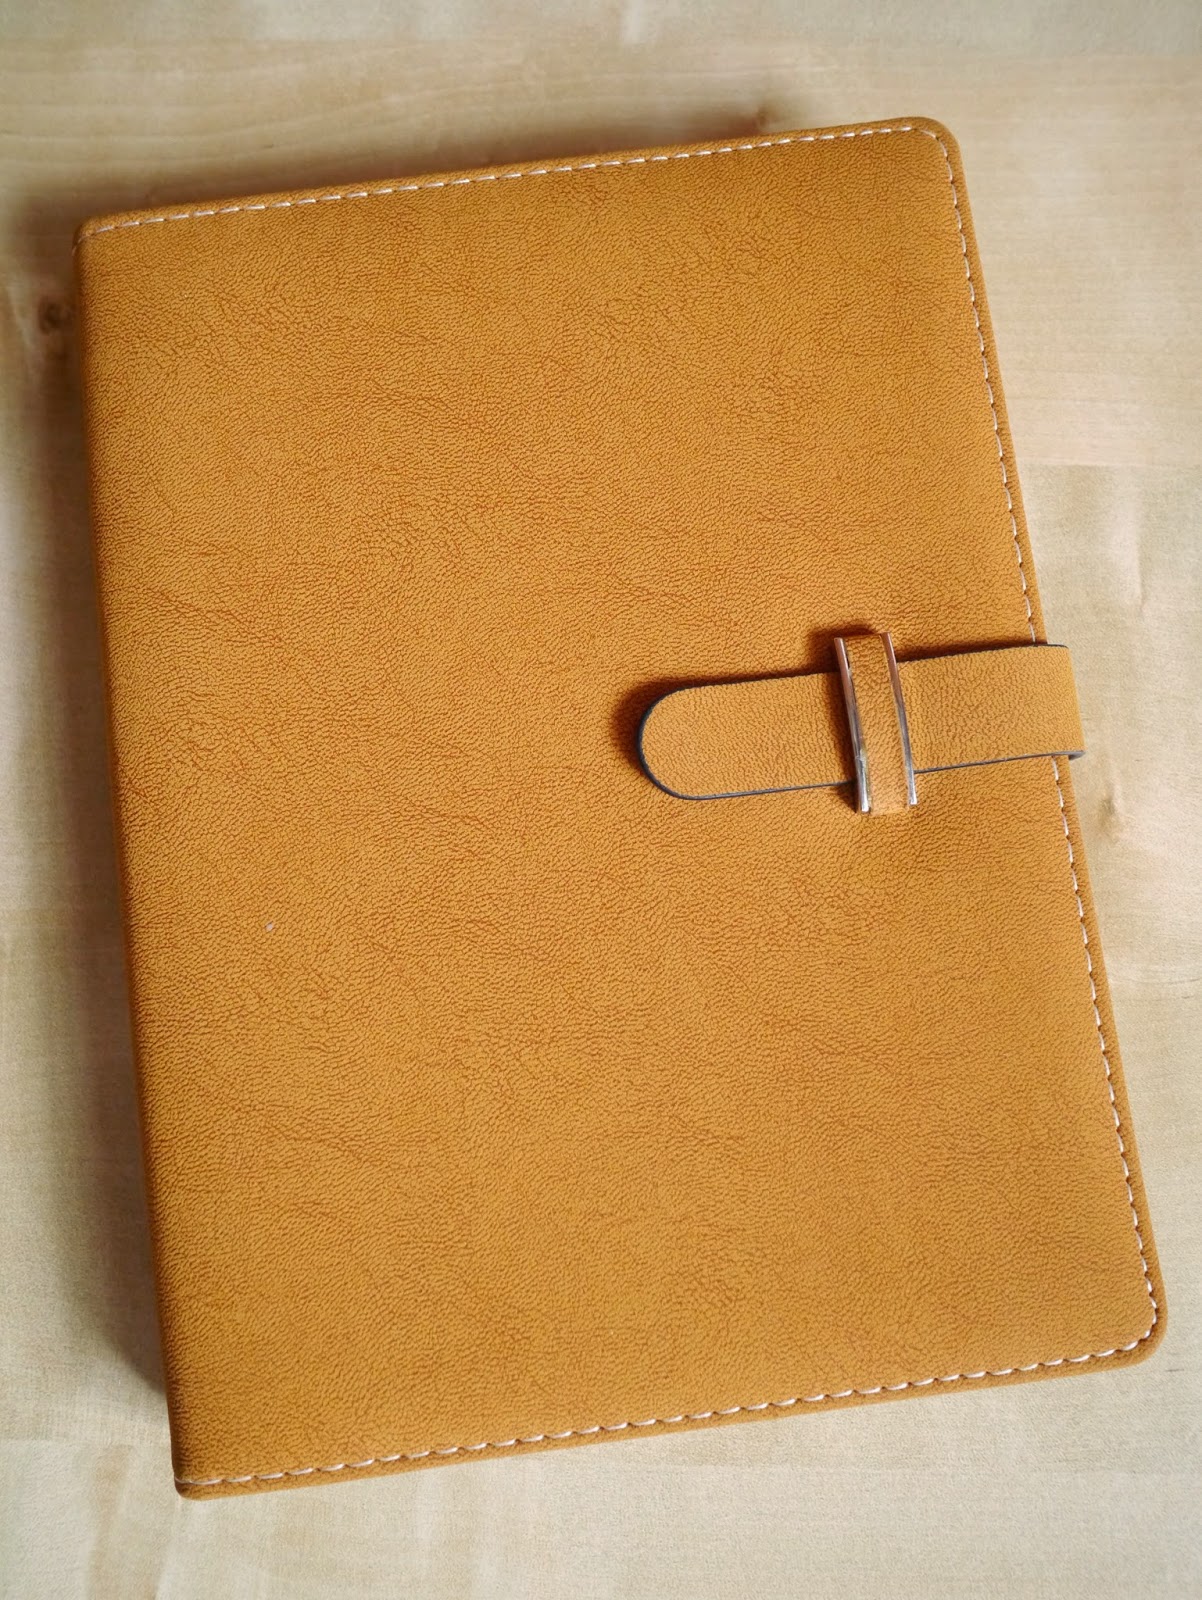
I love the tuck-in clasp instead of magnetic clasp like most of the planners I saw online

I use the A5 for my daily journaling and weekly planning. I have been using the planner since November 2014, and instead of buying or printing the planner inserts, I decorate and 'design' my own version. To me, that is part of the fun (although quite tiring sometimes). 

It all started with simple elements, only post-it notes, page markers and some stampings.

These lined planner inserts came with the planner
Then I found my old stash of long forgotten sticker sheets, and started adding stickers all over the place. And I bought quite a lot of stickers too, until I told myself I need to stop buying unless I have used up all the old ones. I don't quite fancy the lined planner inserts, so I bought a pack of crisp white blank planner inserts, and I really love decorating them each week (Okay, that was a lie. I don't enjoy decorating them ALL the time, just most of the time).

My A5 Planner is used for daily journaling and weekly planning. And I love adding quotes I found online in them.

Then I dug out my stash of kawaii mini memo pads, which I have quite a few because I was an avid kawaii swappers a few years back. And they really brighten up my dull planner inserts, look!

My favorite Sentimental Circus!!

I even fuzzy cut the memo sheet just for a larger space to squeeze in my 'Weekend To Do' List!

And then, I bought a Happie Planner Kit from Happie Scrappie Sam Sam, because her kits are just too adorable!! And she is one of the reasons I fell into this planner-craze.

My favorite quotes thus far

How can you not love all the cute animal themed accessories from the November Happie Planner Kit?!

During the Christmas week, I pulled my stash of Christmas themed scrapbook supplies and tried to use them all on that week's inserts.

A 'meh' kind of inserts, not my absolute favorite

A boyfriend. But all I have got on Christmas day was a cockroach in toilet at 2 o'clock in the morning *cries*

These are most of my planner inserts for the last 2 months of 2014. A few weeks' inserts are missing because they aren't pretty enough to be showcased here ahahaha I do make substandard planner inserts from time to time, especially when I am late on the week (I usually decorate the planner insert a week before) or not in the mood.

And that is all for my first post on my planner. I think there will be more posts coming, but I am limiting to one post or two per month, because there really isn't much to blog about my planner. However, if you would like to get a more up-to-date update of my planner, do follow my Instagram account (ID: peifang_alice). I usually post my planner inserts (or a sneak peak of it) when I am done decorating them.

If you are a planner addict with an Instagram account or blog, do comment on my post and I will be sure to check out your account!

Alright, have a lovely day! *wink*

Saturday, January 10, 2015

Saturday Share: Parade @ Disneyland

Hello, darlings! Happy Saturday! *wink*

A tad bit late with my post this week. I just finished this layout and had it photographed around noon, and now trying to write a post and upload it before lunch. 

I actually tried to scrapbook this layout last weekend, but I was not in a crafty mood, and I kinda had some 'bottleneck' with it, so I left it on my desk. I posted a photo on Instagram stating my stalled progress with the layout, and a friend (which is not a crafter) gave me some advice, which is quite useful, but then I did not have the time to complete the layout over the week, so this is me rushing the layout to get it done, photographed and blogged in one shot.

Anyway, back to the layout. These photos were taken during my visit to Disneyland in Paris on last September. I am not much into theme parks' rides (unless I am with a bunch of crazy daredevil friends), though I always like Mickey Mouse. Vintage style good ol' Mickey. 

The whole trip was kinda not-so-exciting for me (exclude the I-have-to-buy-all-these craze I had in their souvenir shops), until the Parade started! I don't know if they have a name for the Parade, but it is the time all the characters and dancers will be out on their streets, dancing and parading. It really got me all excited, and it did make me feel like a kid again. Totally magical! Totally excited! And I was in a dilemma of whether I should be enjoying the parade or snapping away with my camera hahaha 

I did get a few nice photos of the parade, and I am glad I did. Every time I look back at these photos, I remember the excitement I felt during the parade, and it is totally magical! I guess that is the magic of Disneyland, it will bring out the kid in all of us, regardless of our age. =) Needless to say, these photos are totally scrapbook-worthy and I just have to get them on a layout.

With these many photos, I was having a hard time coming up with a sketch that will fit nicely. I have taken out these photos more times than I can remember, trying to scrapbook them, and nothing seems to work. But the sketch from My Scraps & More Sketch #97 makes scrapbooking so many photos seems like an easy task LOL And so, my layout for this special memory is based on this sketch.

http://myscrapsandmoresketches.blogspot.com/2015/01/my-scraps-more-sketch-97.html
My Scraps & More Sketch #97

Solid cardstock is much better than a busy patterned background for this layout

That glitter foam letter stickers ♥♥

Top

Bottom

I misted the white cardstock with Mustard Color Shine by Heidi Swapp, and I really like the background, though it's mostly covered up by the photos and titles. You can still see them peeking out subtlety through the vellum though, and I love it!

Sorry for such long post, I did not know I babbled this much until I have done writing. 
>.<

Leave me some love if you like my layout, and be sure to follow my Instagram for more of my paper craft creation! Thank you for your time, and have a lovely weekend. =)

Supplies (Patterned Paper)
  • White Cardstock and Vellum
  • Travel Girl 8x8 Patterned Paper by October Afternoon
Supplies (Letters)
  • Jingle Glitter Foam Thickers by American Crafts
  • Gold Foil Alpha by Dear Lizzy for Studio Calico
  • Glitter Stickers Alphabets from local bookstore
Supplies (Others)
  • Mustard Color Shine by Heidi Swapp
  • Orange Polka Dot with Hearts by Freckled Fawn
  • 'I  This' Paper Clip and Resin Hearts from OhDeerMe June 2014 Kit by Freckled Fawn
  • Geotag Puffy Stickers by Twine + Ink

Saturday, January 3, 2015

Saturday Share: Warmest of Thoughts

Hello, dear friends! How is 2015 treating you so far? I hope all is well and fine.

I spent the last few weeks of 2014 trying to plan ahead what I will be doing for this year. So, here goes. For the first quarter of 2015, I will be writing 4 blog posts per month, alternating between the layouts and handmade cards I made. Why is it only the first quarter, you asked? Well, I might have gone missing again like I did every year, so let's just keep it real and put down what I really could achieve right now. And there might be some posts about my planner, though I haven't really come up with any planning on blogging about my planner-addiction, yet.

So, for the first (or actually, second) post of 2015, I will start with a handmade card. Very simple, yet I find it quite beautiful, if I may say so myself *wink* 


I bought this owl stamp a few years ago, where I kept convincing myself that I NEED an owl stamp (and this one is just too cute, I MUST get it). Years passed by, and I only used it once for a layout I did in 2013. So, when I decided to go back to handmade cards, this little owl popped his head out and yelled, 'Use me! Use me!' hahaha 


I finished this card within half an hour, and that is quite satisfying. This is what I love about card-making, it is far less time-consuming, and even such simple design can have a beautiful outcome.


I really love this sentiment stamp by Simon Says Stamp. My handwriting can never be this neat *sigh*

Supplies (Stamp)
  • Whoots, by Art Impressions
  • (Tree Branch) Fanciful Swirl Alphabets by Hero Arts
  • (Sentiment) Absolutely Delightful by Simon Says Stamp
Supplies (Ink Pad)
  • Cup O' Joe Mid Tone Shadow Ink by Hero Arts
  • Black Pigment Ink Pad
Supplies (Others)
  • 300 gsm A6 Card Blank
  • Classic Color Pencils by Faber-Castell

That's all for this week! Do come back next week for another post on a layout I made.

If you would like to see more of my layouts and paper craft creation, hit the follow button on my blog and check out my Instagram (ID: peifang_alice).

Have a wonderful weekend!

Thursday, January 1, 2015